

Testing and Operating Methods
1) Wiring: Connect the test sample to this machine via a dedicated cable. Ensure a secure connection without any loose connections.
2) Range selection: Turn on the power switch. After that, the display will show "Furunde" and then you can select the current value using the current key. Each time you press it, the corresponding current and range will be displayed on the screen.
3) Testing: After selecting the current, simply press the test button to start the test. The display will indicate the charging current value and prompt that charging is in progress. Once the current stabilizes, the display will show the test current used, and at this point it will prompt "Testing in progress", then "Continuous testing" and start flashing, displaying the sum of the current and resistance values. Pressing the test button allows for re-measurement while maintaining the same current.
During the test, if a smaller current is selected, it will prompt "Select a larger current" because a too small current is not conducive to signal stability. At this point, the current should be changed and the instrument should be adjusted to increase the output current.
During the test, if the current selected is too high, because the resistance is too large for the current to be fully supplied, at this point, an appropriate current range should be changed and the test should be conducted again.
4) After the test is completed, press the reset button. The power supply of the instrument will be disconnected from the windings, and the discharge process will start. An audible alarm will sound. At this time, the display will show that the charging process is returning to the current selection state. At this point, there is no need to wait for the discharge to finish. You can directly select the current test button to conduct the test. After the discharge is completed, you can reconnect the wires to continue the measurement or remove the test line to end the measurement.
DC Resistance Tester
5) When the battery power level is low, it will automatically display "Low battery, please charge". During charging, the power switch should be turned off. Just insert the charger into the socket to start charging. The red indicator light indicates charging in progress, while the green light indicates successful charging.
Test Operation Precautions
Read the instructions carefully before use.
2) The operator must possess basic knowledge of general electrical work and common sense regarding the use of instruments and meters.
3) The instrument can be used both indoors and outdoors. However, it should be avoided from being exposed to rain, corrosive gases, dusty areas, high temperatures, and direct sunlight in harsh environments.
4) The instrument should be handled with care and not be carelessly thrown or placed randomly. It should be stored in a well-ventilated, dry area where direct sunlight does not reach. A dedicated person should be responsible for its custody.
5) When using the instrument, do not touch it with oily hands or gloves that are dirty. After use, remove the stains on the surface and the stains on the wires, and clean the dust thoroughly. Then, close the instrument cover.
6) Regularly use the standard resistor shunts provided by the manufacturer to calibrate the instrument.
7) Do not perform excessive discharging simultaneously, as it is not conducive to the battery's service life.
Safety Usage Instructions
The housing must be safely and reliably grounded when in use.
2) During the test, it is not allowed to place any irrelevant items on or around the equipment panel.
3) During the test, please ensure that the equipment being tested has been powered off, and all other energized equipment has been disconnected.
4) Before measuring the no-load voltage regulating transformer to the tap switch, it is necessary to reset the discharge. Only after the discharge is completed and the alarm sound stops can the tap switch be switched.
5) When selecting the current, refer to the range specified in the technical indicators. Do not exceed the range or use it below the range. If the current exceeds the range, since it cannot reach the preset value, it will result in unstable measurement results. If the current is below the range, it will cause unstable data for large-capacity transformers. In such cases, find an appropriate range for measurement.
6) Before removing the stitches, wait until the discharge process is complete and the alarm sound stops before proceeding with the removal. 7) If the battery power is low during the testing, connect a charger for emergency testing.
Direct Current Resistance Tester Field Testing And Operating Procedures
Popular Products

Open Flash Point Tester
Product Introduction Features: Fully automatic flash point tester, with touch screen instead of keyboard operation.

Capacitance Test
Products Description This 50kVA single phase pole mounted transformer is exported to Canada inJuly,2024.The rated

TTR Transformer Turns Ratio Tester
Products Description The ZS6810A / ZS6810E transformer ratio tester is mainly used for measuring the turns ratio or

Single-phase relay protection tester
The single-phase relay protection tester is a new type of intelligent test instrument, primarily used to calibrate

Sweep Frequency Response Analysers
Products Description Overview The Transformer winding deformation tester transformer winding deformation tester is used
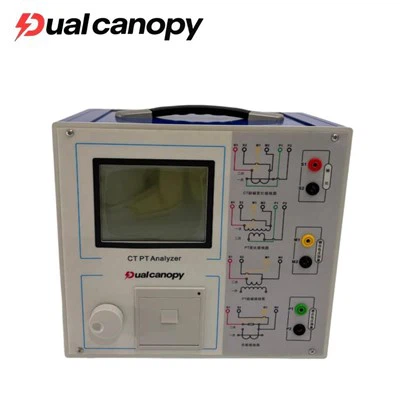
CT PT Excitation Characteristic Analyzer
Products Description The transformer comprehensive measuring instrument is an electronic device used for on-site